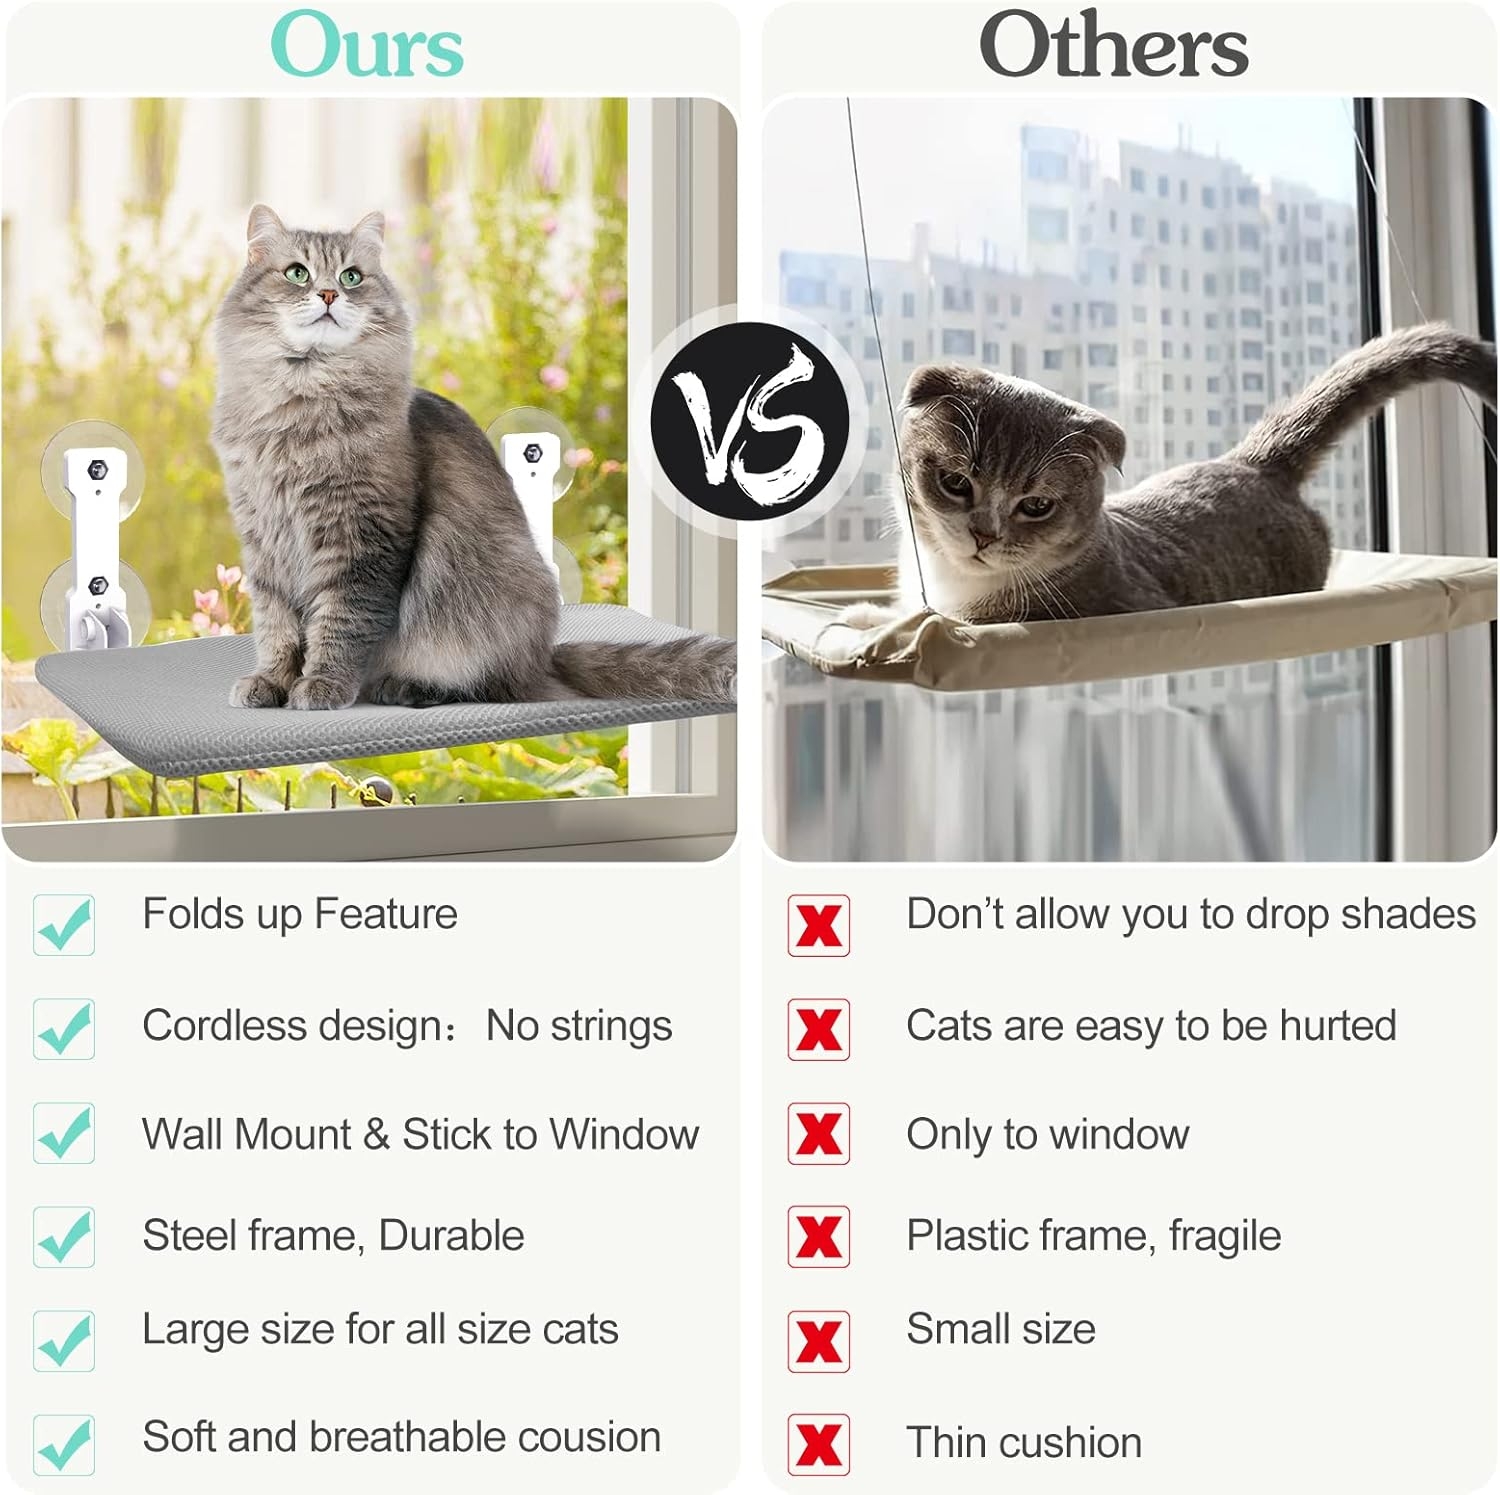
- 🐱【Cordless Window Cat Perch Window Sill】: Compared with an old style cat hammock bed for window, there is no fixed rope block, our folding cat perches collapsible window hammock allow your cats freely jump up and down without being stumbled by the rope in the support frame.
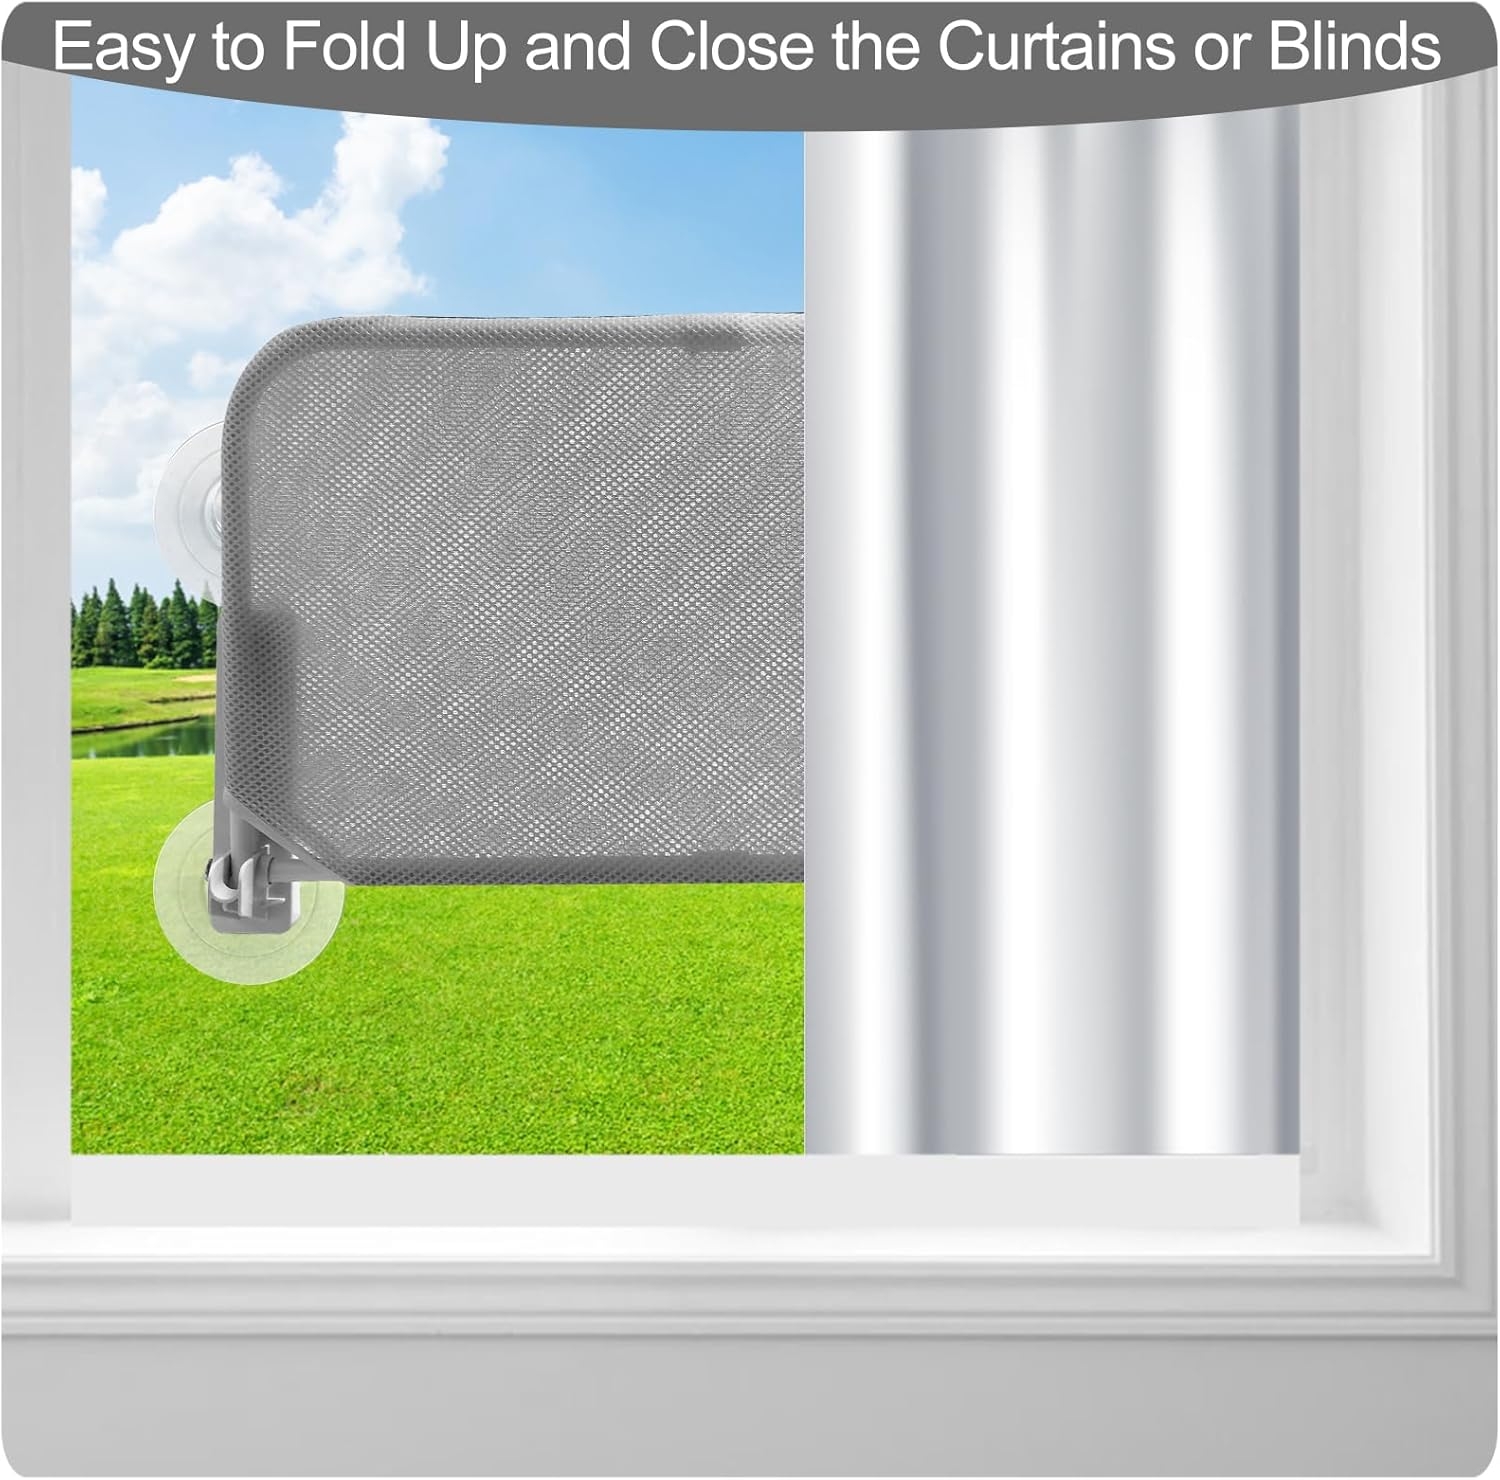
- 🐱【Foldable & Space Saving】: This small window seat for cats window sill shelf can be folded up and take up no space when not in use. Folds up against the window pane when you want to close the blinds, so convenient to setup this cat wall furniture.
- 🐱【Safe & Solid Cat Hammock for Indoor Cats】: This small cat window perch, window hammock for cats inside, hanging cat bed is made of high-quality steel frame. Large strong power suction cups make it safety and steady. Hold up to an amazing 40 pounds. Comes with breathable washable easy clean mat helps to lose heat in summer.
- 🐱【Wall Mounted & Attach to a Window】CPG DOTS floating cat perch cat grooming hammock bed supports two types of installation. Sticking the suction cups to the window glass. It can be firmly mounted on window by powerful suction cups. Another is to fix it to the wall by drilling holes and twisting the anchors and screws, by which the kitten beds for indoor cats would definitely not fall off.
- 🐱【360° Window Cat Perch Large Heavy Cats】Pet Cats love sunbathing on cat hanging hammock or cat window shelf comfortable platform, this over the door cat hammock or cat resting seat perch window is ideal heaven for them relaxing under the sun. They can also enjoy climbing up to the wall hammock bed and down, getting a 360°full view of the surroundings. Mental cat accessories. On a sunny afternoon, enjoy languid hours with the dozing cats.
- 🐱【Warm Tips】Run hot water to about 120 degrees and soak the suction cups for about 3 – 5 minutes. Once hot, attach the suction cups to the metal frame then press each suction cup onto the window which you’ve already cleaned. You DO need to clean the window well, the suction cups then work fine.
- 🐱【Easy to Assemble】Our advice: double-check the bars’ ends to ensure you have everything positioned properly before screwing them in.


